Board and batten walls – you’ve seen them all over your social media feeds! It seems like everyone has a board and batten accent wall somewhere in their house. Whether it be in the entryway, in the bedroom, or perhaps a nursery, there are so many fun and creative ways that people are adding texture to their homes with board and batten designs. So, what is board and batten anyway, and how do you know what design is best for you? Let’s start with the basics before we explore all of the options out there.
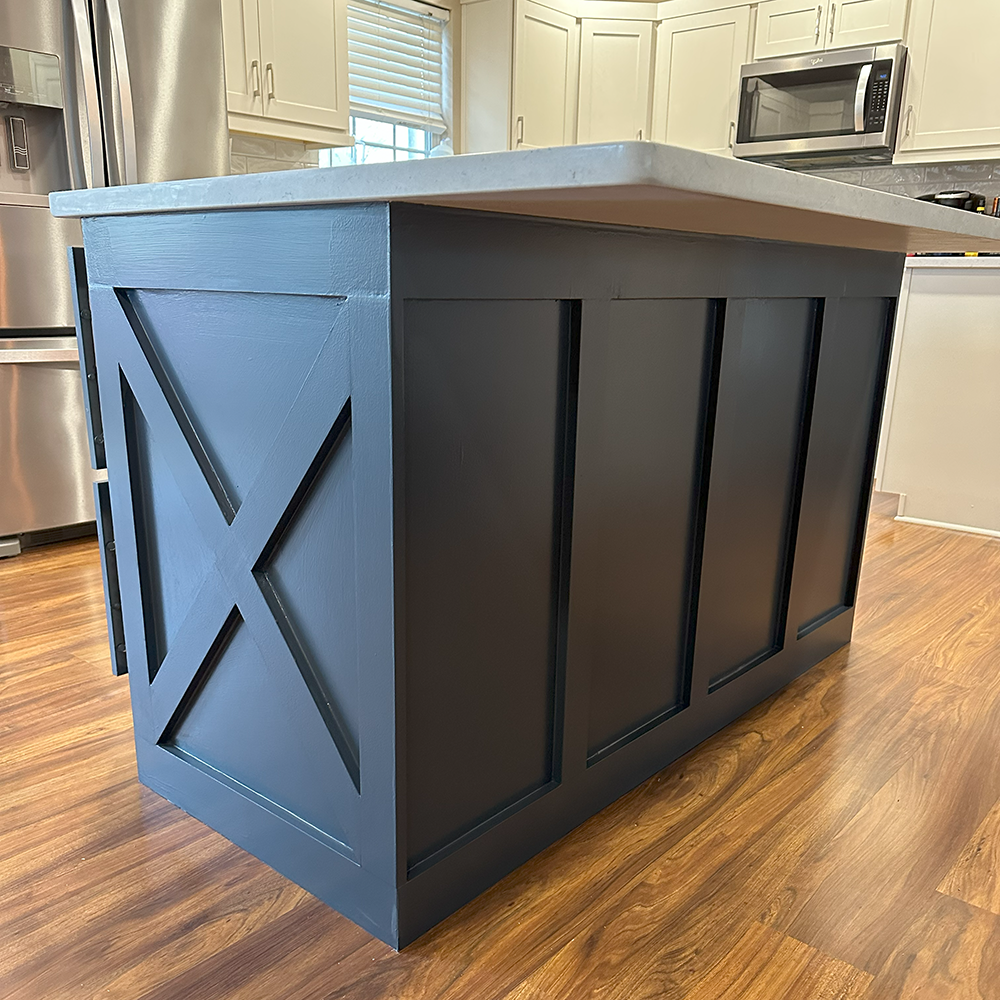
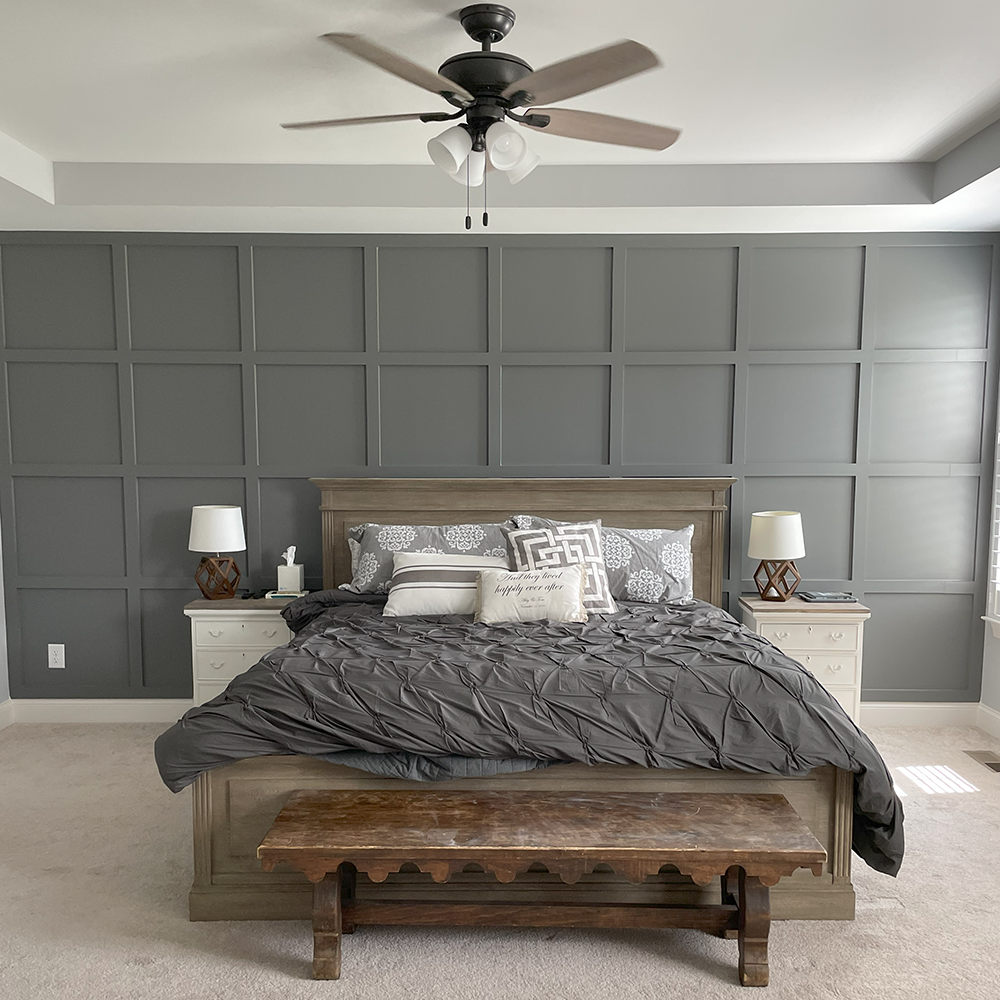
What is board and batten exactly?
Well, some people call it wainscoting as well. Although technically, wainscoting is when the trim work is only on the lower half of the wall, and it is also referred to as a chair rail. The term ‘board and batten’ comes from the modern style of siding you see on the exterior of a home when there is a board attached to the siding and then a 1×2 or 1×3 batten on top of that to create a vertical pattern. Well, this design has moved its way inside the home and is now a focal point in many homes you see today.
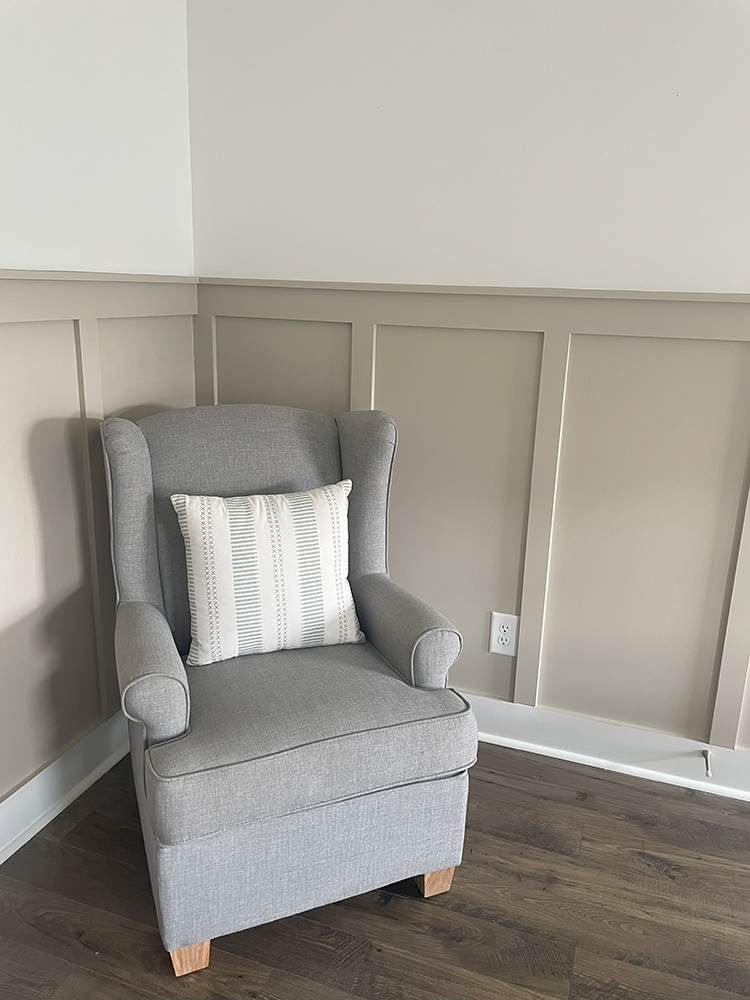
When creating board and batten design inside the home you first want to determine whether you need the ‘board’ in the board and batten. Simply put, are your walls textured? If your walls aren’t textured, you can use the drywall as your board (since it’s a smooth surface). If you have textured walls, the ‘board’ is optional. You can add a thin particle board to the wall to flatten the surface of your accent wall. Or some people just ignore the texture and do not add a board on top of the drywall. It’s really a matter of preference; the option is yours! Here in Tennessee, we all have flat drywall so the decision is made for us and the board is not needed. At that point, all you do is pick your pattern and add the ‘battens’ directly to the wall.
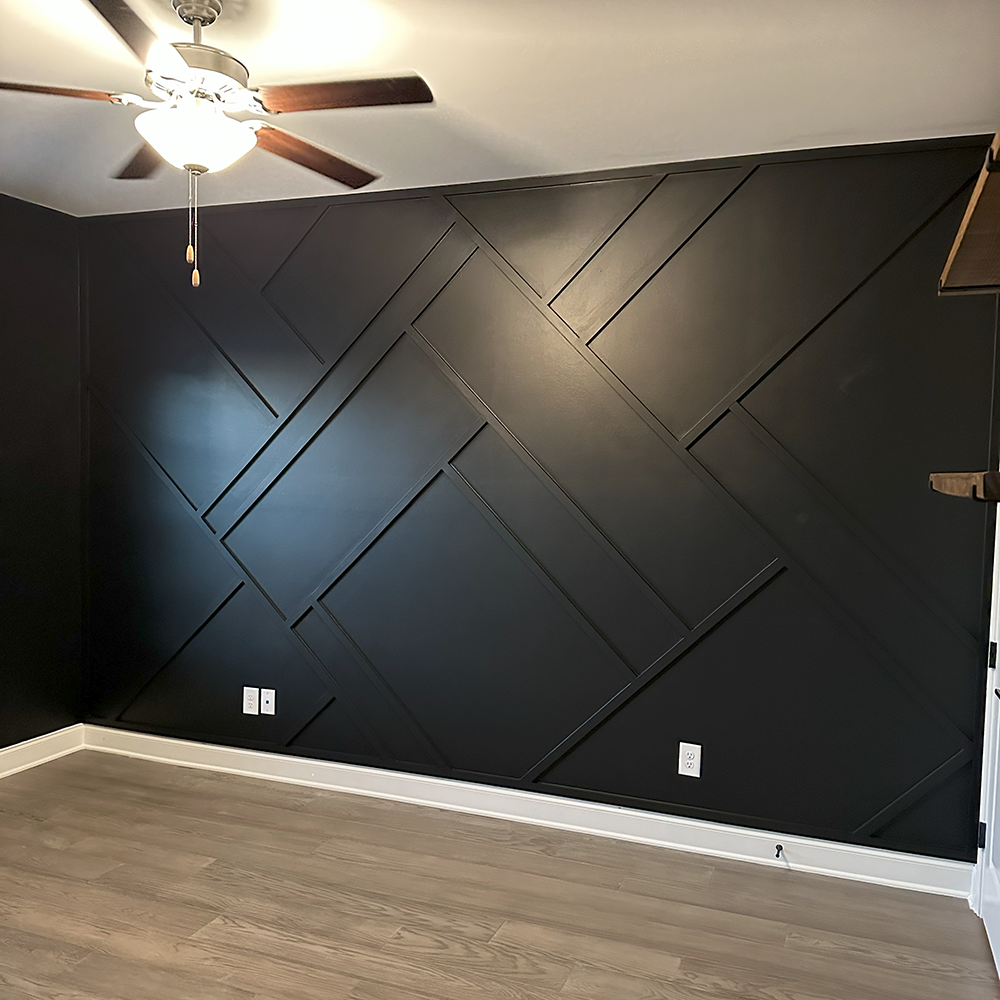
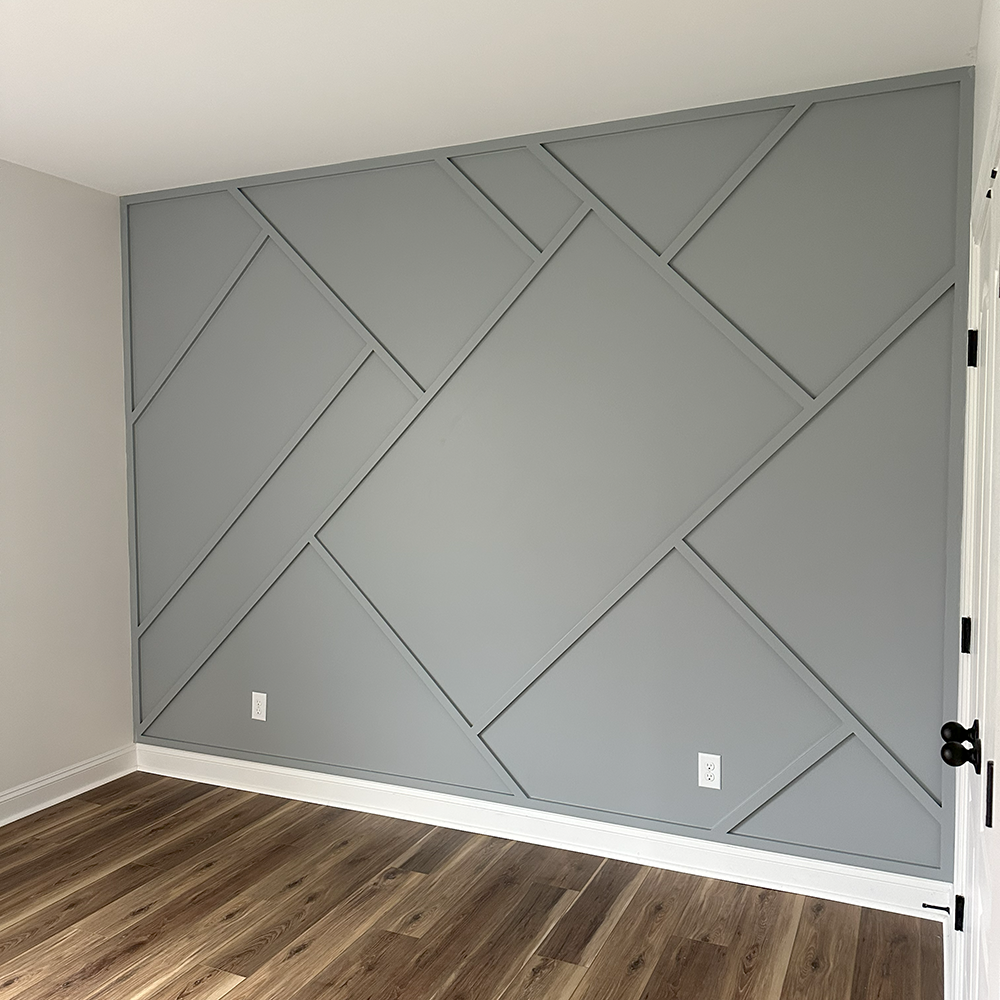
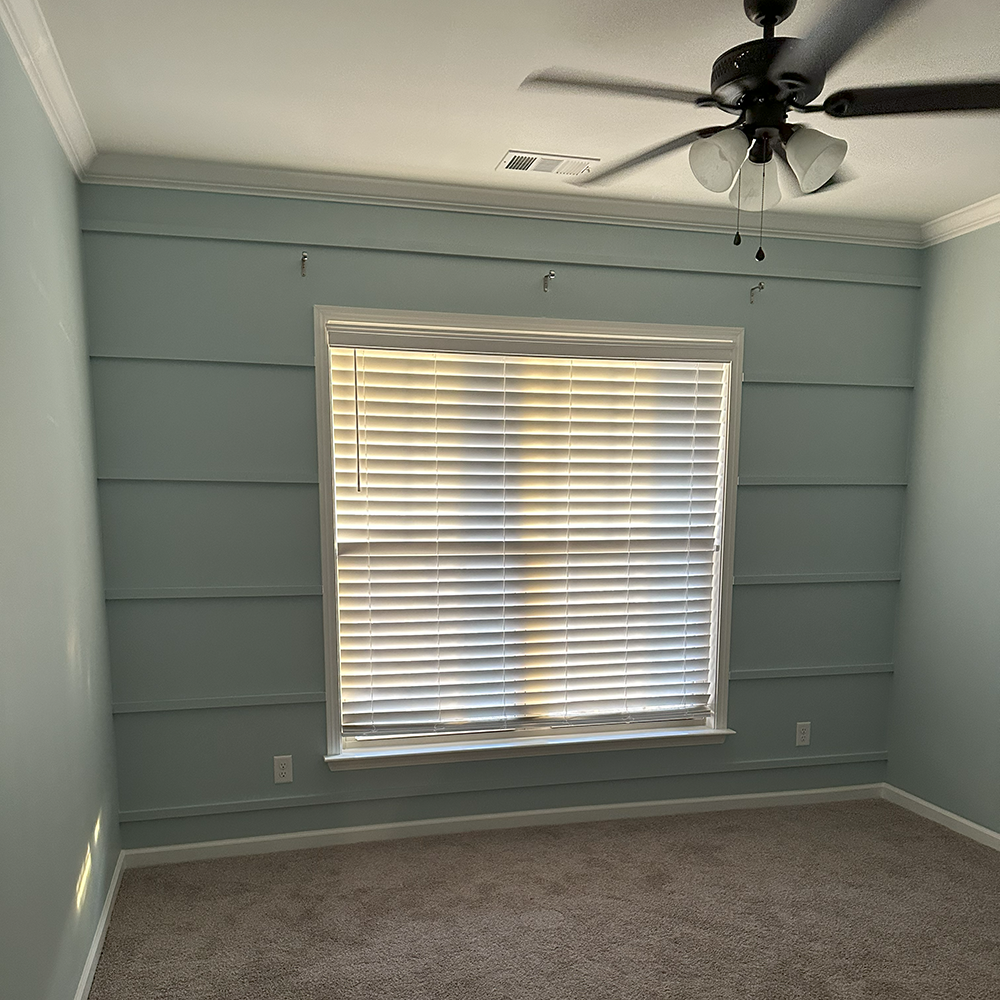
Where is the best place to add a board and batten accent wall?
The options are endless, but here are a few areas where I see board and batten the most:
Entryway
Usually 4’ high and painted white for the classic board and batten entryway look. You can also paint it a darker tone, but white can really brighten up a dark and boring entryway space.
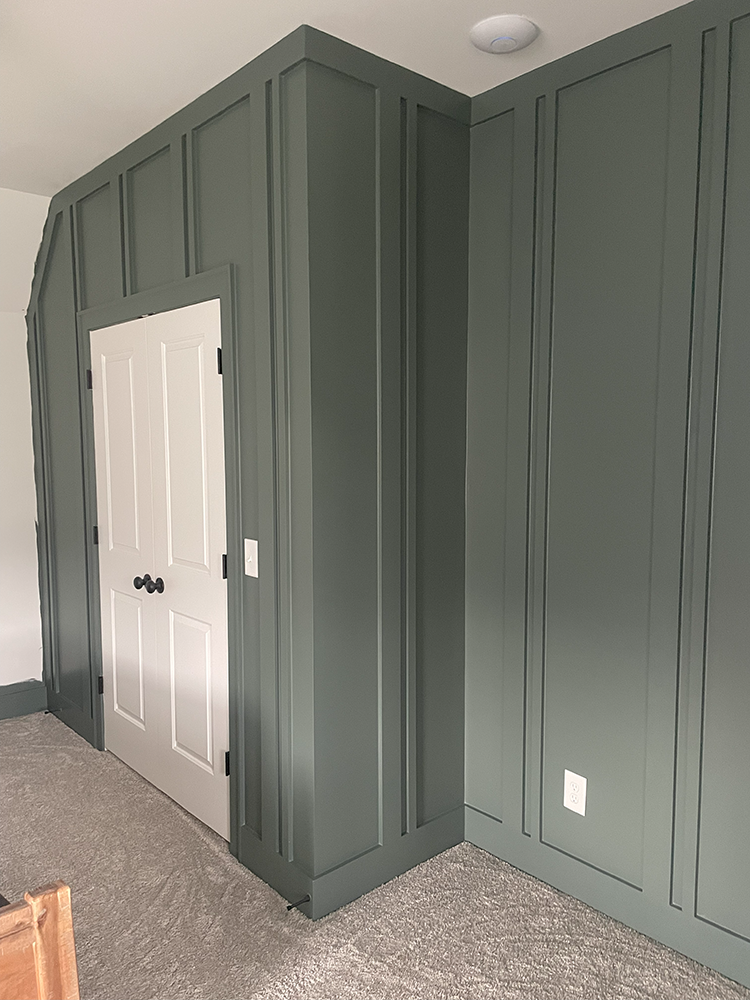
Bedroom
Typically, in the primary bedroom behind the bed, or perhaps in a teen bedroom (also behind the bed). This is great way to create a focal point when entering a bedroom and adds so much depth and texture to the space.
Nursery
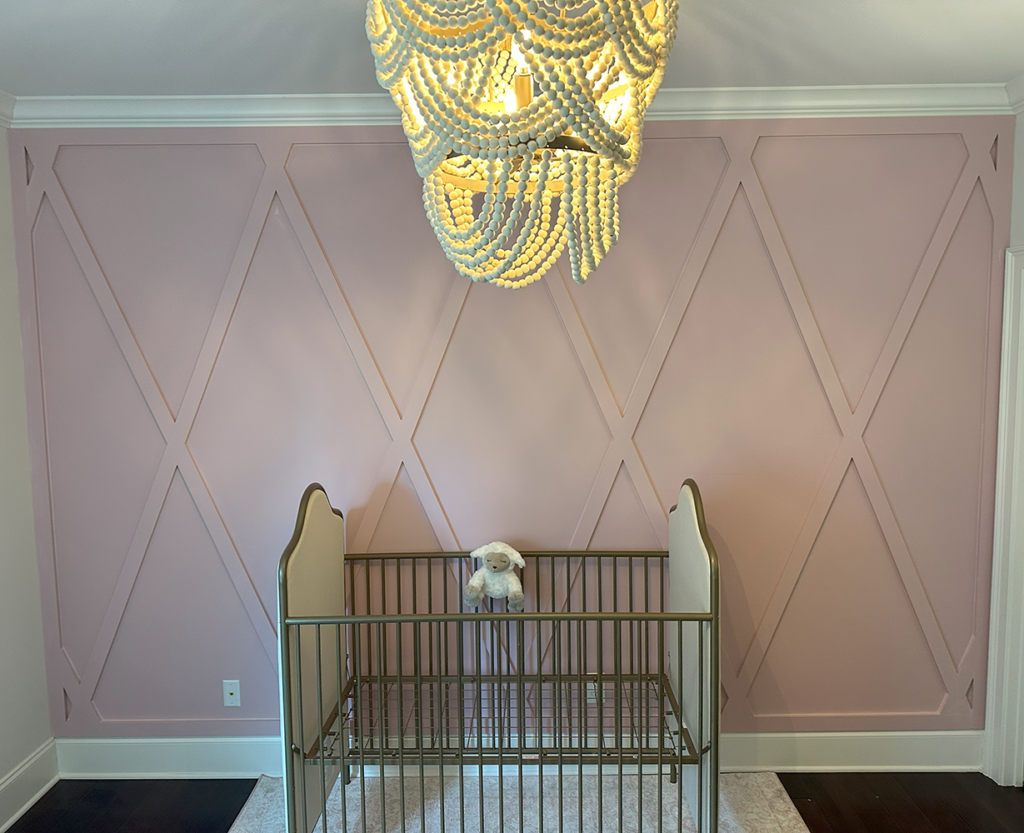
You see it in a lot of nursery designs, sometimes as an accent wall or even a half wall that’s wrapped around the room – kind of like a chair rail from a dining room, only higher. You can do a full wall behind the crib or a half wall with wallpaper above it. The options are endless!
Office
Talk about being the star of the show on your next Zoom meeting! Since the start of the pandemic there has been a large increase in the number of people working from home. And boy do we help design a lot of office spaces! A stunning board and batten design is the perfect backdrop for all your virtual meetings. Plus, it creates the perfect talking point when trying to make that awkward small talk on the computer screen.
Awkward Fireplaces
You know, the ones with extremely high ceilings and only a tiny built-in mantle surrounding the fireplace. Board and batten is a more cost-effective way to add texture to any fireplace wall, when comparing it to a brick, stone, or shiplap fireplace. It can also help tie the room together and make the ceilings not feel so massive in a large open space.
Bathroom
A half board and batten wall is the perfect addition to any bathroom! It protects the walls against water splashes (if you use a quality, washable paint), and it makes for the perfect place to add a few towel hooks for guests. Paint it a fun color, find yourself a spunky wallpaper design, and you’re all set! A huge pet peeve of mine is washing my hands in someone’s bathroom and then dripping water all over their flat-painted walls when I go to use the hand towel (happens every time). And you can’t ever wipe it off! A board and batten accent wall wrapped around the room, especially by a pedestal sink, will solve that problem.
Ceilings
This is a trending idea! People are starting to see the ceiling as the 5th wall of the room. Board and batten ceilings and ceiling treatments of all kinds are very in right now, from coffered ceilings (did you think it was “coffin”? Ha!) to shiplap with faux beams to even wallpaper! Adding texture to the ceiling can help draw your eyes up when inside a room. It will even make the space feel larger.
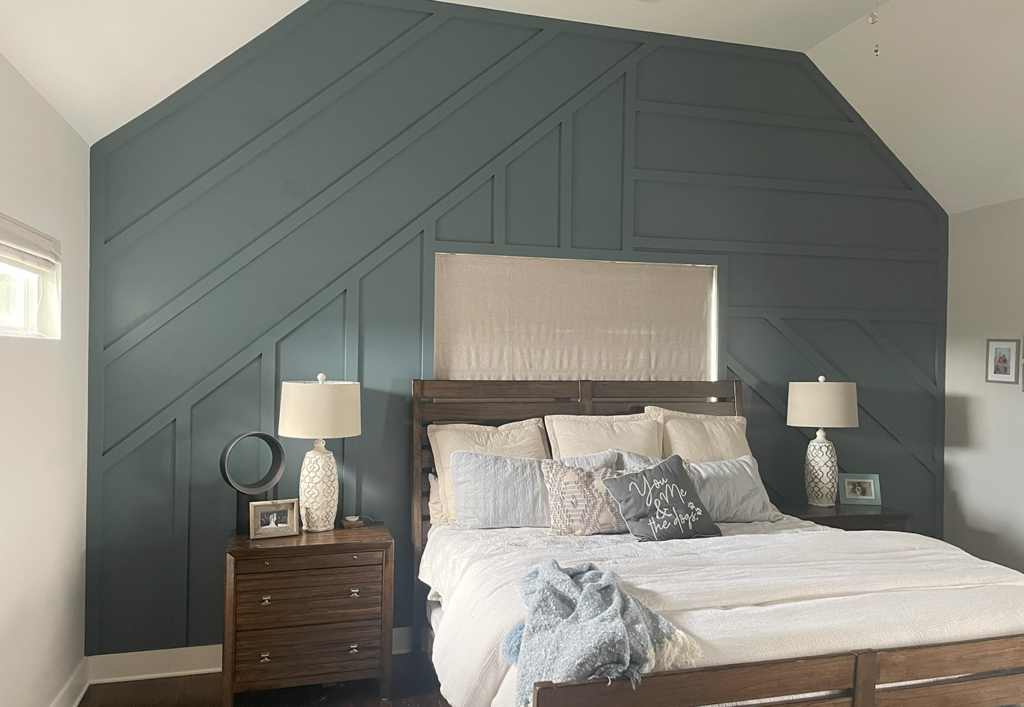
What should I consider when designing a board and batten wall?
Now that you know where you want the board and batten to go, the next step is to figure out your design. I’m a visual person, so when I am thinking about doing something in my home, I will search for hours on Pinterest (anyone else?) to see what my eye gravitates towards. Is it dark and moody colors? Is it bright white that you love? Do you gravitate towards the simple, timeless patterns or the more funky and abstract ones? Here are some things I would consider when designing a board and batten accent wall:
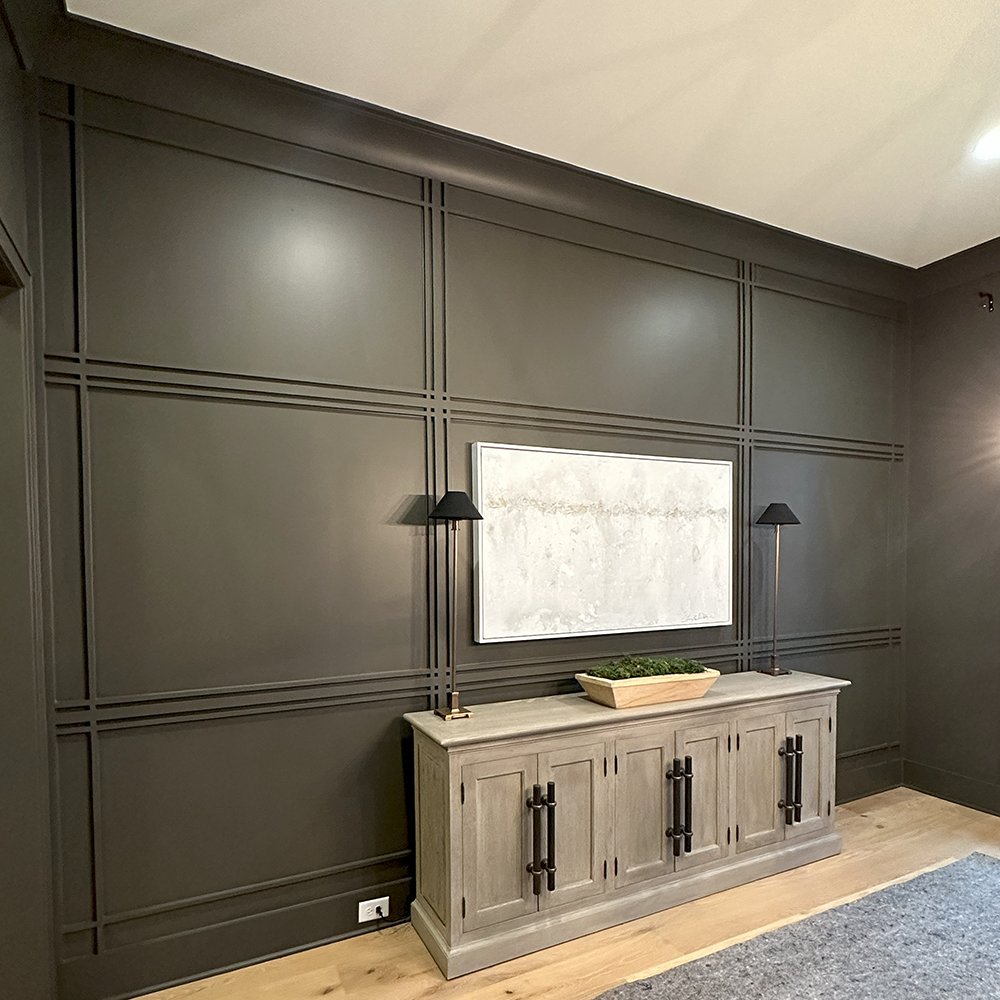
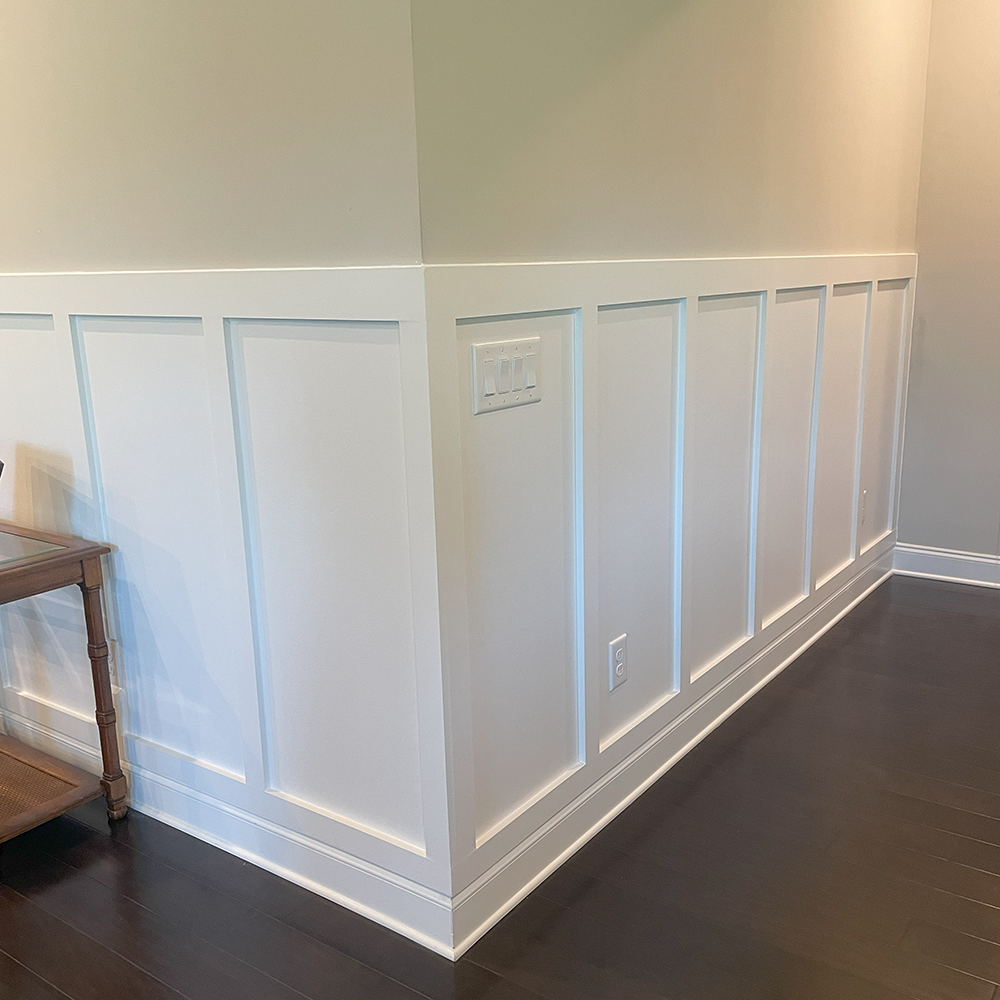
Think of the pattern.
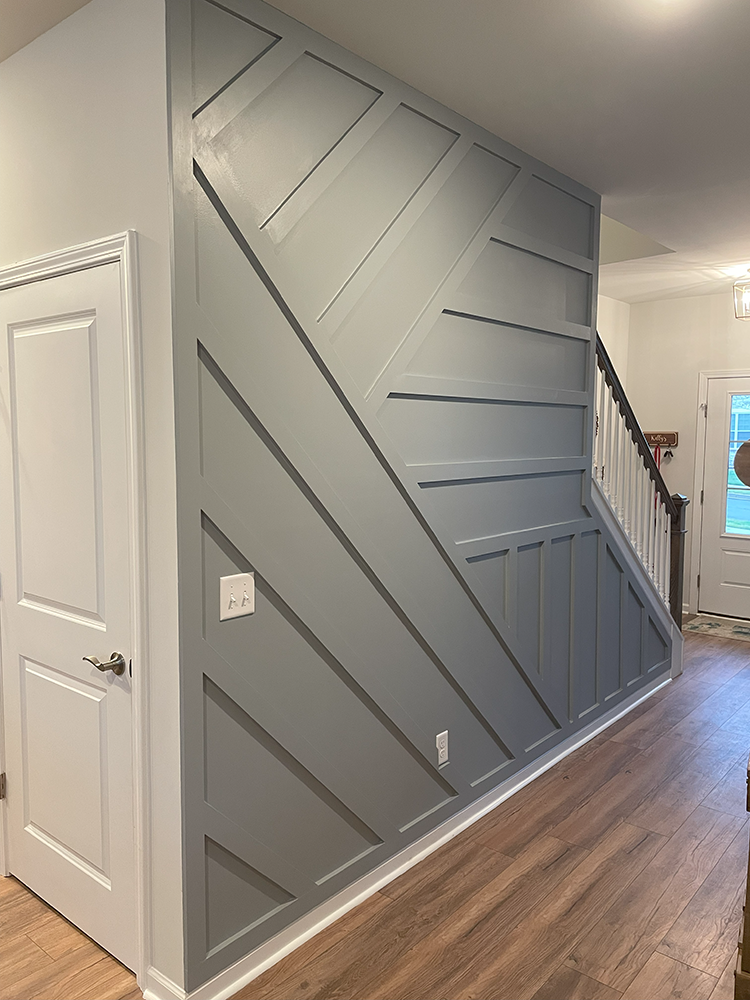
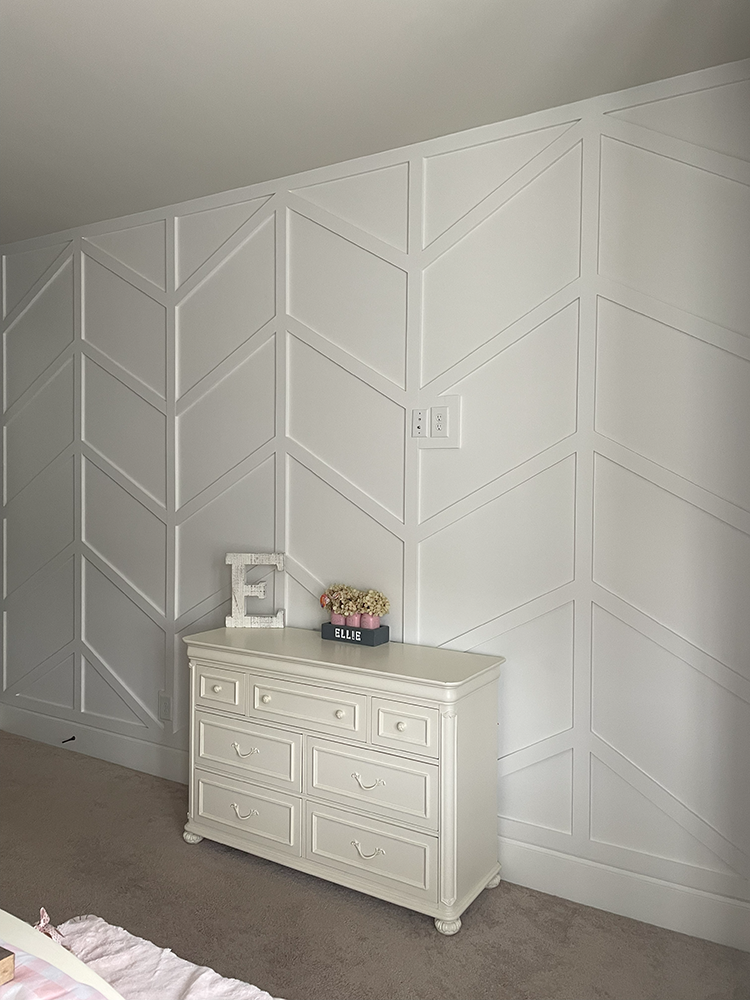
Do you want a symmetrical, classic type of pattern like vertical lines or boxes? Or do you prefer edgy, modern, abstract patterns like diamonds, icicles, or diagonal mismatched boards? Find which board and batten design pattern speaks to you.
Look at the space.
Take a look at the wall you want focus on – what do the baseboards look like? Is there crown molding? Do you have high ceilings or low ceilings? Do you have to work around the windows? Will the pattern go around the electrical outlets in the wall? What are the measurements of the wall, and are squares even possible given the size/shape of the wall? Is there a weird angle ceiling in this space? Consider visually which pattern or style you like and how it’s going to look on your specific wall.
How is the lighting?
When deciding the color of your design, think of the lighting in the room. Is the room dark or does it have a lot of light coming in? Can you change the light fixture? Lighting is key to finding the right color for the space. If you have a lot of natural light, it’s okay to go dark without it feeling like a dungeon. If the room is dark, maybe you want to brighten it up with a lighter paint color. Sometimes a dark room can also be fixed by adding a new light fixture with multiple light bulbs, this one is my favorite!
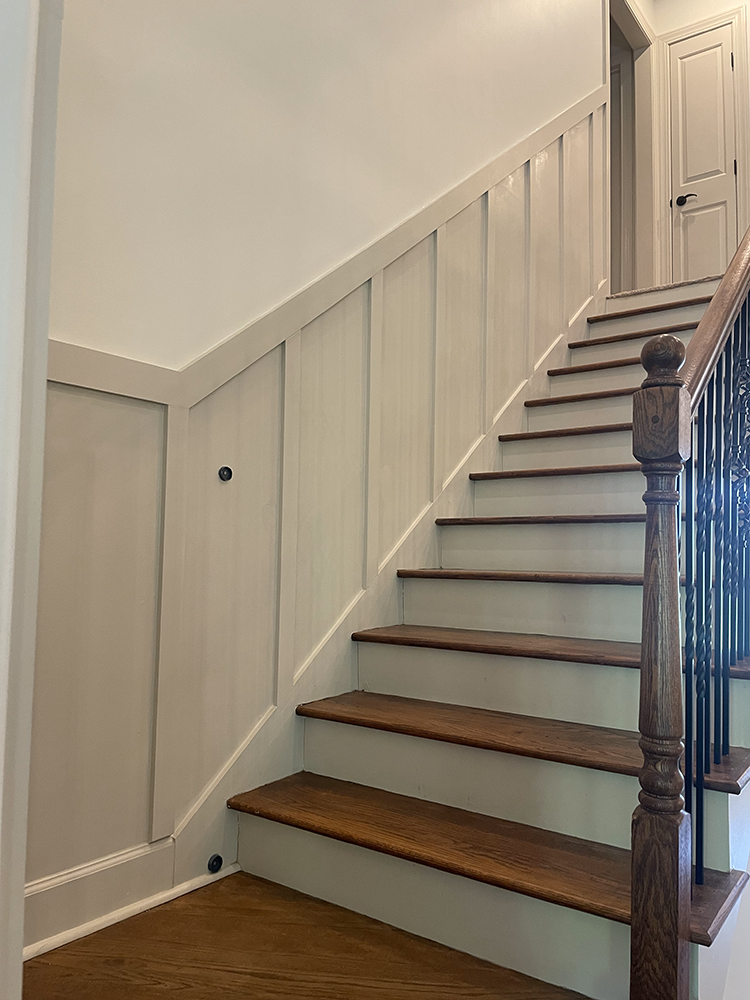
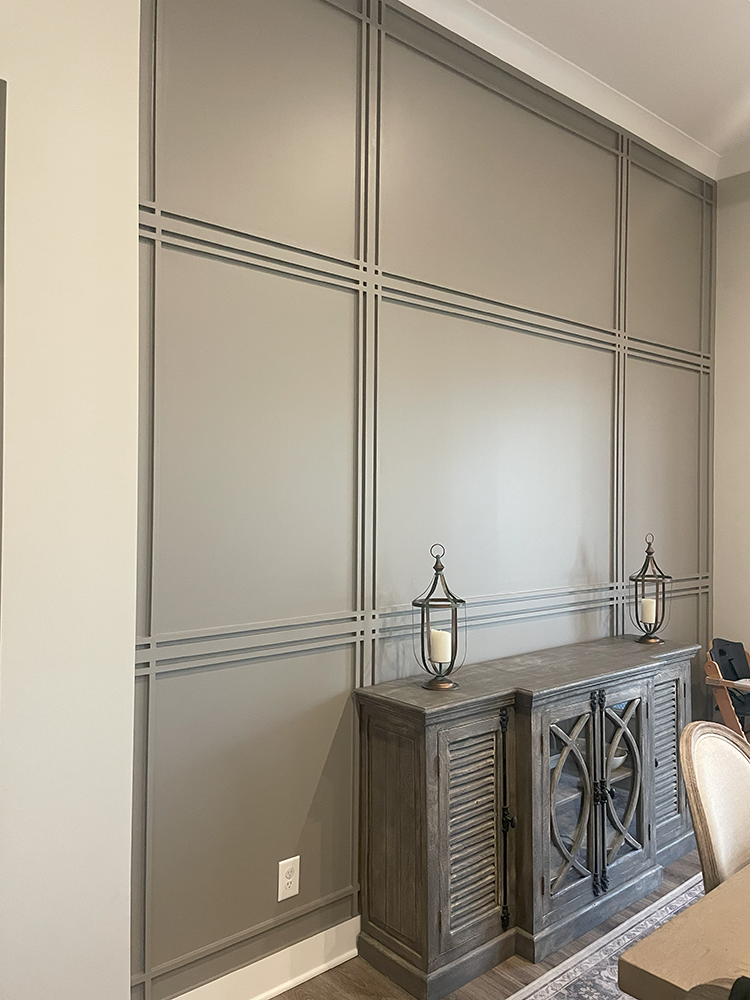
What furniture is in the room?
Is there a crib that will sit in front of the wall? Are there any pictures or artwork that will be hung on the same wall? You can easily create a design that includes the furniture in the space or art on the wall. By designing around those features, you can make them really stand out.
How do I measure my board and batten design for my wall?
One of the things I do in almost every board and batten accent wall design is add a frame around the perimeter of the wall using the same boards (1×2, 1×3, 1×4, etc.) that will be used in the design. Sometimes you will see diagonal board accent walls that extend up to the ceiling or off the side of the wall, and it creates an awkward edge for you to paint around. I personally feel it gives a cleaner look when you create one giant box around the whole wall to work inside of. Plus, this will give you cleaner paint lines every time. This is also key for the baseboards and crown molding – you want to make sure the boards within your design have a flat surface to meet on each end.
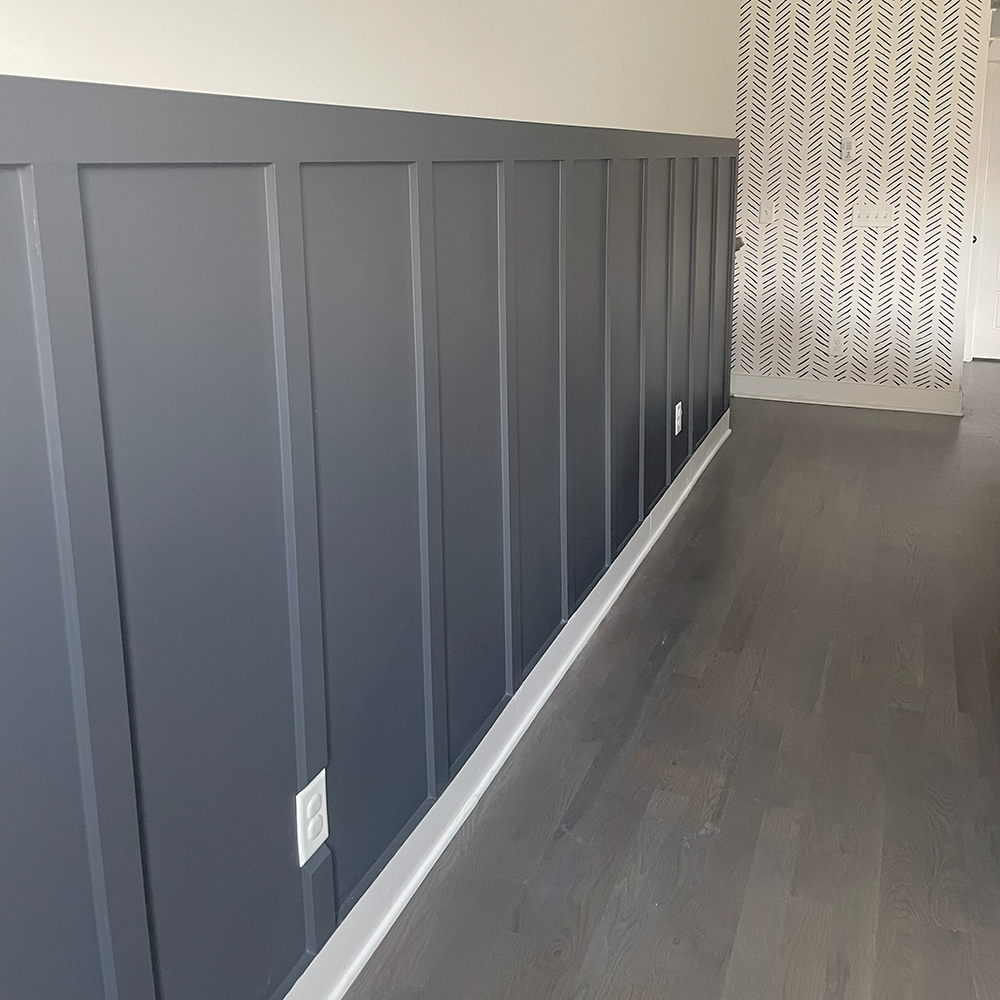
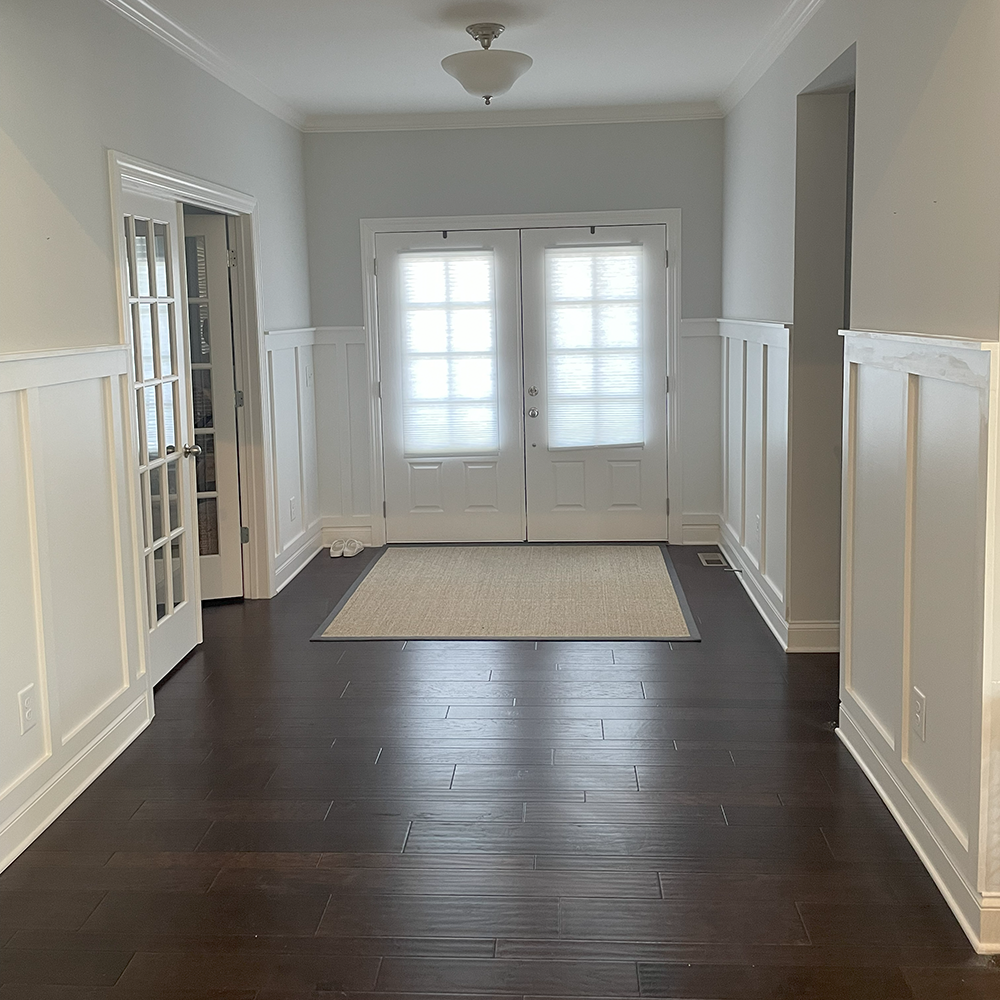
The boards (or I guess ‘battens’ in this case) are all 3/4” thick and typically your crown molding and baseboard will have a decorative edge that’s not as thick. You can also cut the ends of the board at an angle if you prefer, but I want to give you some different ideas to get your mind thinking!
Before beginning to install the design on the walls, I will measure out the space and (with a pencil) mark the wall slightly where the boards will go. This is helpful when you are trying to go around windows or electrical outlets, especially when doing vertical boards. If you are wanting to create the classic board and batten style with vertical boards/columns, here is how you do the math:
- Measure the width of the wall, for this example we will call is 150” wide.
- Figure out a general width for the columns that looks right visually in your space, I typically go with 12”-17” gaps. Take your tape measure to the wall and see how those gaps look, do they run into any outlets?
- Given your estimated gap width, how many vertical battens will that give you? Is it 9? Is it 10? Let’s do the math to see what that give us…
- To figure out the width of each column, you multiply the width of your battens (we will use 1x3s for this example, which are 2.5” wide) by the number of battens you want to use.
- If you use 9 battens: 9 x 2.5” = 22.5”
- If you use 10 battens: 10 x 2.5” = 25”
- Take your total width and subtract the amount of space the battens will take up (what we just calculated above)
- With 9 battens: 150 – 22.5 = 127.5”
- With 10 battens: 150 – 25 = 125”
- Now, divide that number (your total amount of wall space showing) by the number of columns you will have on the wall. For example, if you have 10 boards on the wall, that would create 9 boxes (or columns) of open wall space.
- With 9 battens: 127.5” / 8 Columns = 15.9”
- With 10 battens: 125” / 9 Columns = 13.8”
- As you can see, with 9 battens on the wall you will have 15.9” of space in between each box. If you used 10 battens, your boxes would be 13.8” wide. The more battens you use, the smaller your gaps will be.
- Once you have determined the right layout of battens and gaps, draw it on the wall with a pencil to make sure it fits to wall correctly and doesn’t go through any outlets. If you go through an outlet, that is fine too. There are ways to create small boxes around them to make it look nice, but I have always felt it’s easier to just go around them to make it look more visually appealing overall.
Now I need the right tools.
If I didn’t just completely lose you on that last one, then yay! You’ve got it in you, you can do this! Before I leave you off to the races, here is a quick list of the materials I like to use for my board and batten projects.
Primed MDF Boards from Lowes
We typically use 1×2, 1×3, 1×4, and 1×6 boards, they come in 8’ length so they are easy to pick up and throw in the car (you may just need to open a window in the back!).
DAP Caulk
This is the best kind of caulk to use. Just be sure to get the kind that is paintable!
Wood Filler
I used to use the pink kind that dries tan. It works fine most of the time, but it can also take forever to dry if you have large holes to repair. For larger fixes, I have been using this small hole patch repair kit, and I love it. It dries super-fast, and you can ‘wet sand’ it with a wet rag instead of sanding. But either way works great!
Brad Nailer
I use this Craftsman. I hate to say it but I went through 2 Ryobi brad nailers, and they both died on me after a year. We also use them nearly every day, so the Ryobi would be just fine for home use.
Brad Nails
I use the 1.5” nails. They are just long enough to hold the boards down, but not too long to puncture any water or electrical lines in the wall. We don’t want any pipes leaking!
Laser Measurer Tool
A complete life saver! I use this measuring tool on every project, and we own 4 of them (in case one ever gets lost).
Paint
This can be a touchy subject! We have tried so many different types of paint out there; there are good and there are bad. Keep in mind, if you want to match a certain color exactly, you need to use that brand of paint specifically. Each manufacturer (Sherwin Williams, Benjamin Moore, BEHR, etc.) all have different variations of base paint. If you take a BEHR paint color to Sherwin Williams and have them “color match” it, it will not be the same since their base tint is slightly different.
Sherwin Williams
I always like to start here. I find their staff to be the most helpful, and they have great retail locations to shop at. Plus, you can be in and out in minutes. I think their Super Paint is a decent quality wall paint, but the Duration Home is the ultimate best. If you have a few extra dollars to spend, it’s worth it!
Lowes
We use the highest quality Valspar paint available; it’s called Reserve. If Sherwin Williams is closed or out of paint, I will go to Lowes. Sherwin Williams owns Valspar, so the paint tints seem to be very similar.
Home Depot
I don’t ever buy paint here, but I’ve heard BEHR is decent. I can’t really say from experience though.
Ace Hardware
Benjamin Moore Regal paint is stellar, and they can mix all the Magnolia Home colors for you too. I’m a huge fan of Benjamin Moore paint products!
You made it! You are now ready to create the most beautiful board and batten accent wall of your dreams. If you found this information helpful, be sure to follow us on Tik Tok and Instagram for more DIY inspiration and project tutorials. You can also send us photos of your completed projects to snowboundhomeinteriors@gmail.com to be featured on our Instagram page! But if you’re not up to the task of bringing your board and batten design to life, then send me a message, and I can make your beautiful design a reality.
Happy projecting!
Disclaimer: This blog post contains some affiliate links. If you purchase any items through these links, we may earn a commission at no cost to you.

0 Comments